How to Make a Flower Arch, Foam Free.
I have been trying to cut down my usage of single use plastic on a personal level over the last few months and so naturally, I want to do that in my work too.
Part of than means not using floral foam. It’s such a handy product when you’re making installations or even smaller arrangements but it’s so bad for the environment. It’s not biodegradable so doesn’t break down in landfill, it can’t be composted and it’s toxic. It has a load of chemicals in it like formaldehyde which isn’t great for anyone, including the florist working with it.
Sometimes it’s tricky to figure out how to go about making an installation without floral foam because it’s so ingrained in our industry to just reach for it but I think restrictions can be great for creativity. I’m not saying I’m perfect, I still have it in my house - mainly as I’m not sure what to do with it now?! But if you want to talk about your wedding flowers, I will be designing them without the aid of foam, so if you want something crazy big, then bear with me while I figure out the best way of doing it - but I promise it will be worth it!
Here’s a quick guide to how I made an arch at Hampton Court House recently. There’s a lot of ways you can do this but this is how I did it. Hopefully it’s helpful to see the progression.

One.
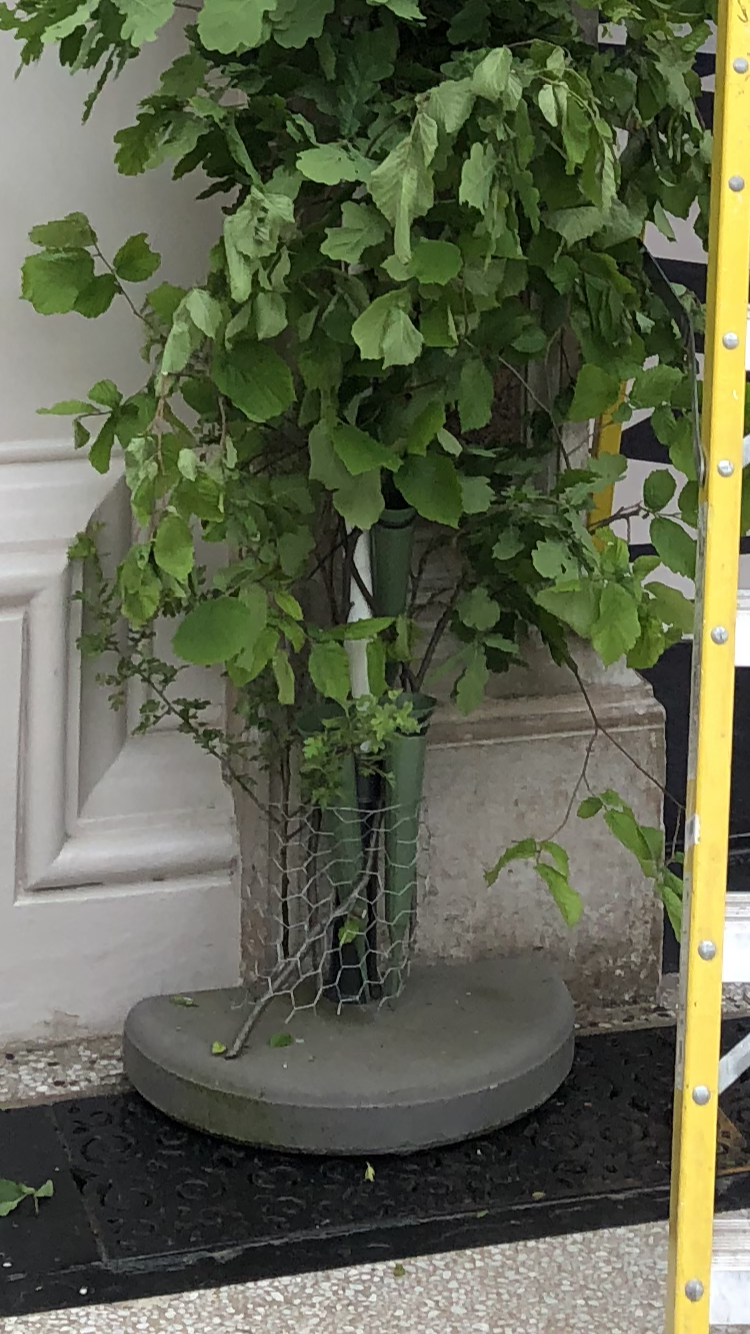
You need a sturdy base. This is actually a parasol base that you can get here from IKEA. Then some copper pipe for added length. (All kindly lent to me from Laura from Petal HQ)

Two.
Next thing you need is chicken wire. Mould it into the shape that’s going to work for you and wire it on. Luckily this arch at Hampton Court House has nails that you can attach things to which makes life a lot easier.
Three.
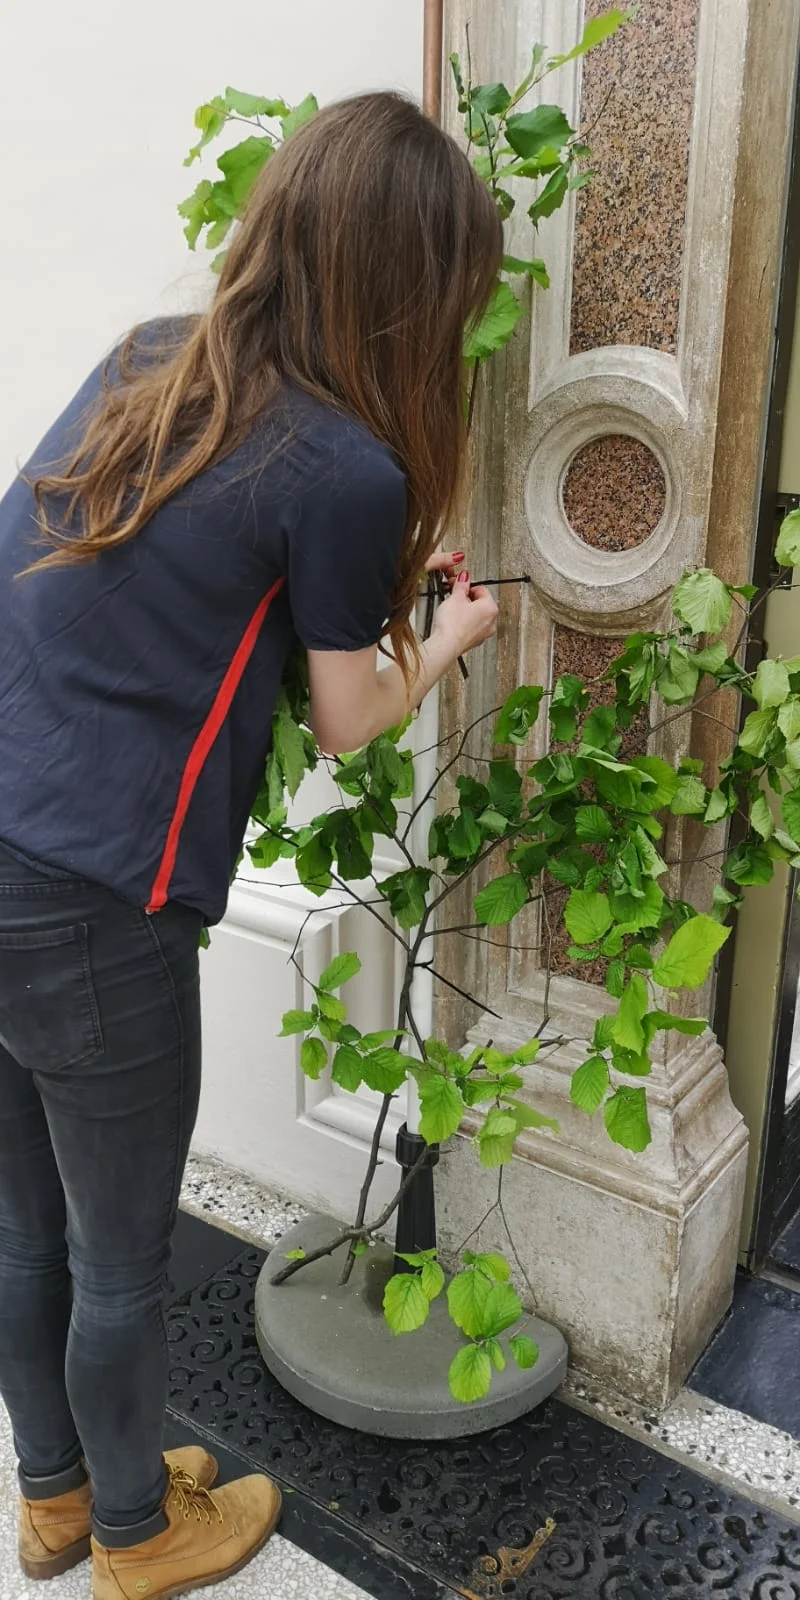
Use cable ties to attach the bigger branches. This is like pencilling in your outline before you start to colour.
(Side note: It’s probably a good idea to brush your hair if someone is taking your photo for your website.)

Four.
Add in any water vessels by wiring them and/or use cable ties. This arch only had to be up for a few hours so I didn’t use many for foliage, and mainly just used it for flowers. A lot of foliage is less likely to need a drink so you don’t need to put every bit in water, but some like the hazel would benefit from it over a longer period.
Five.
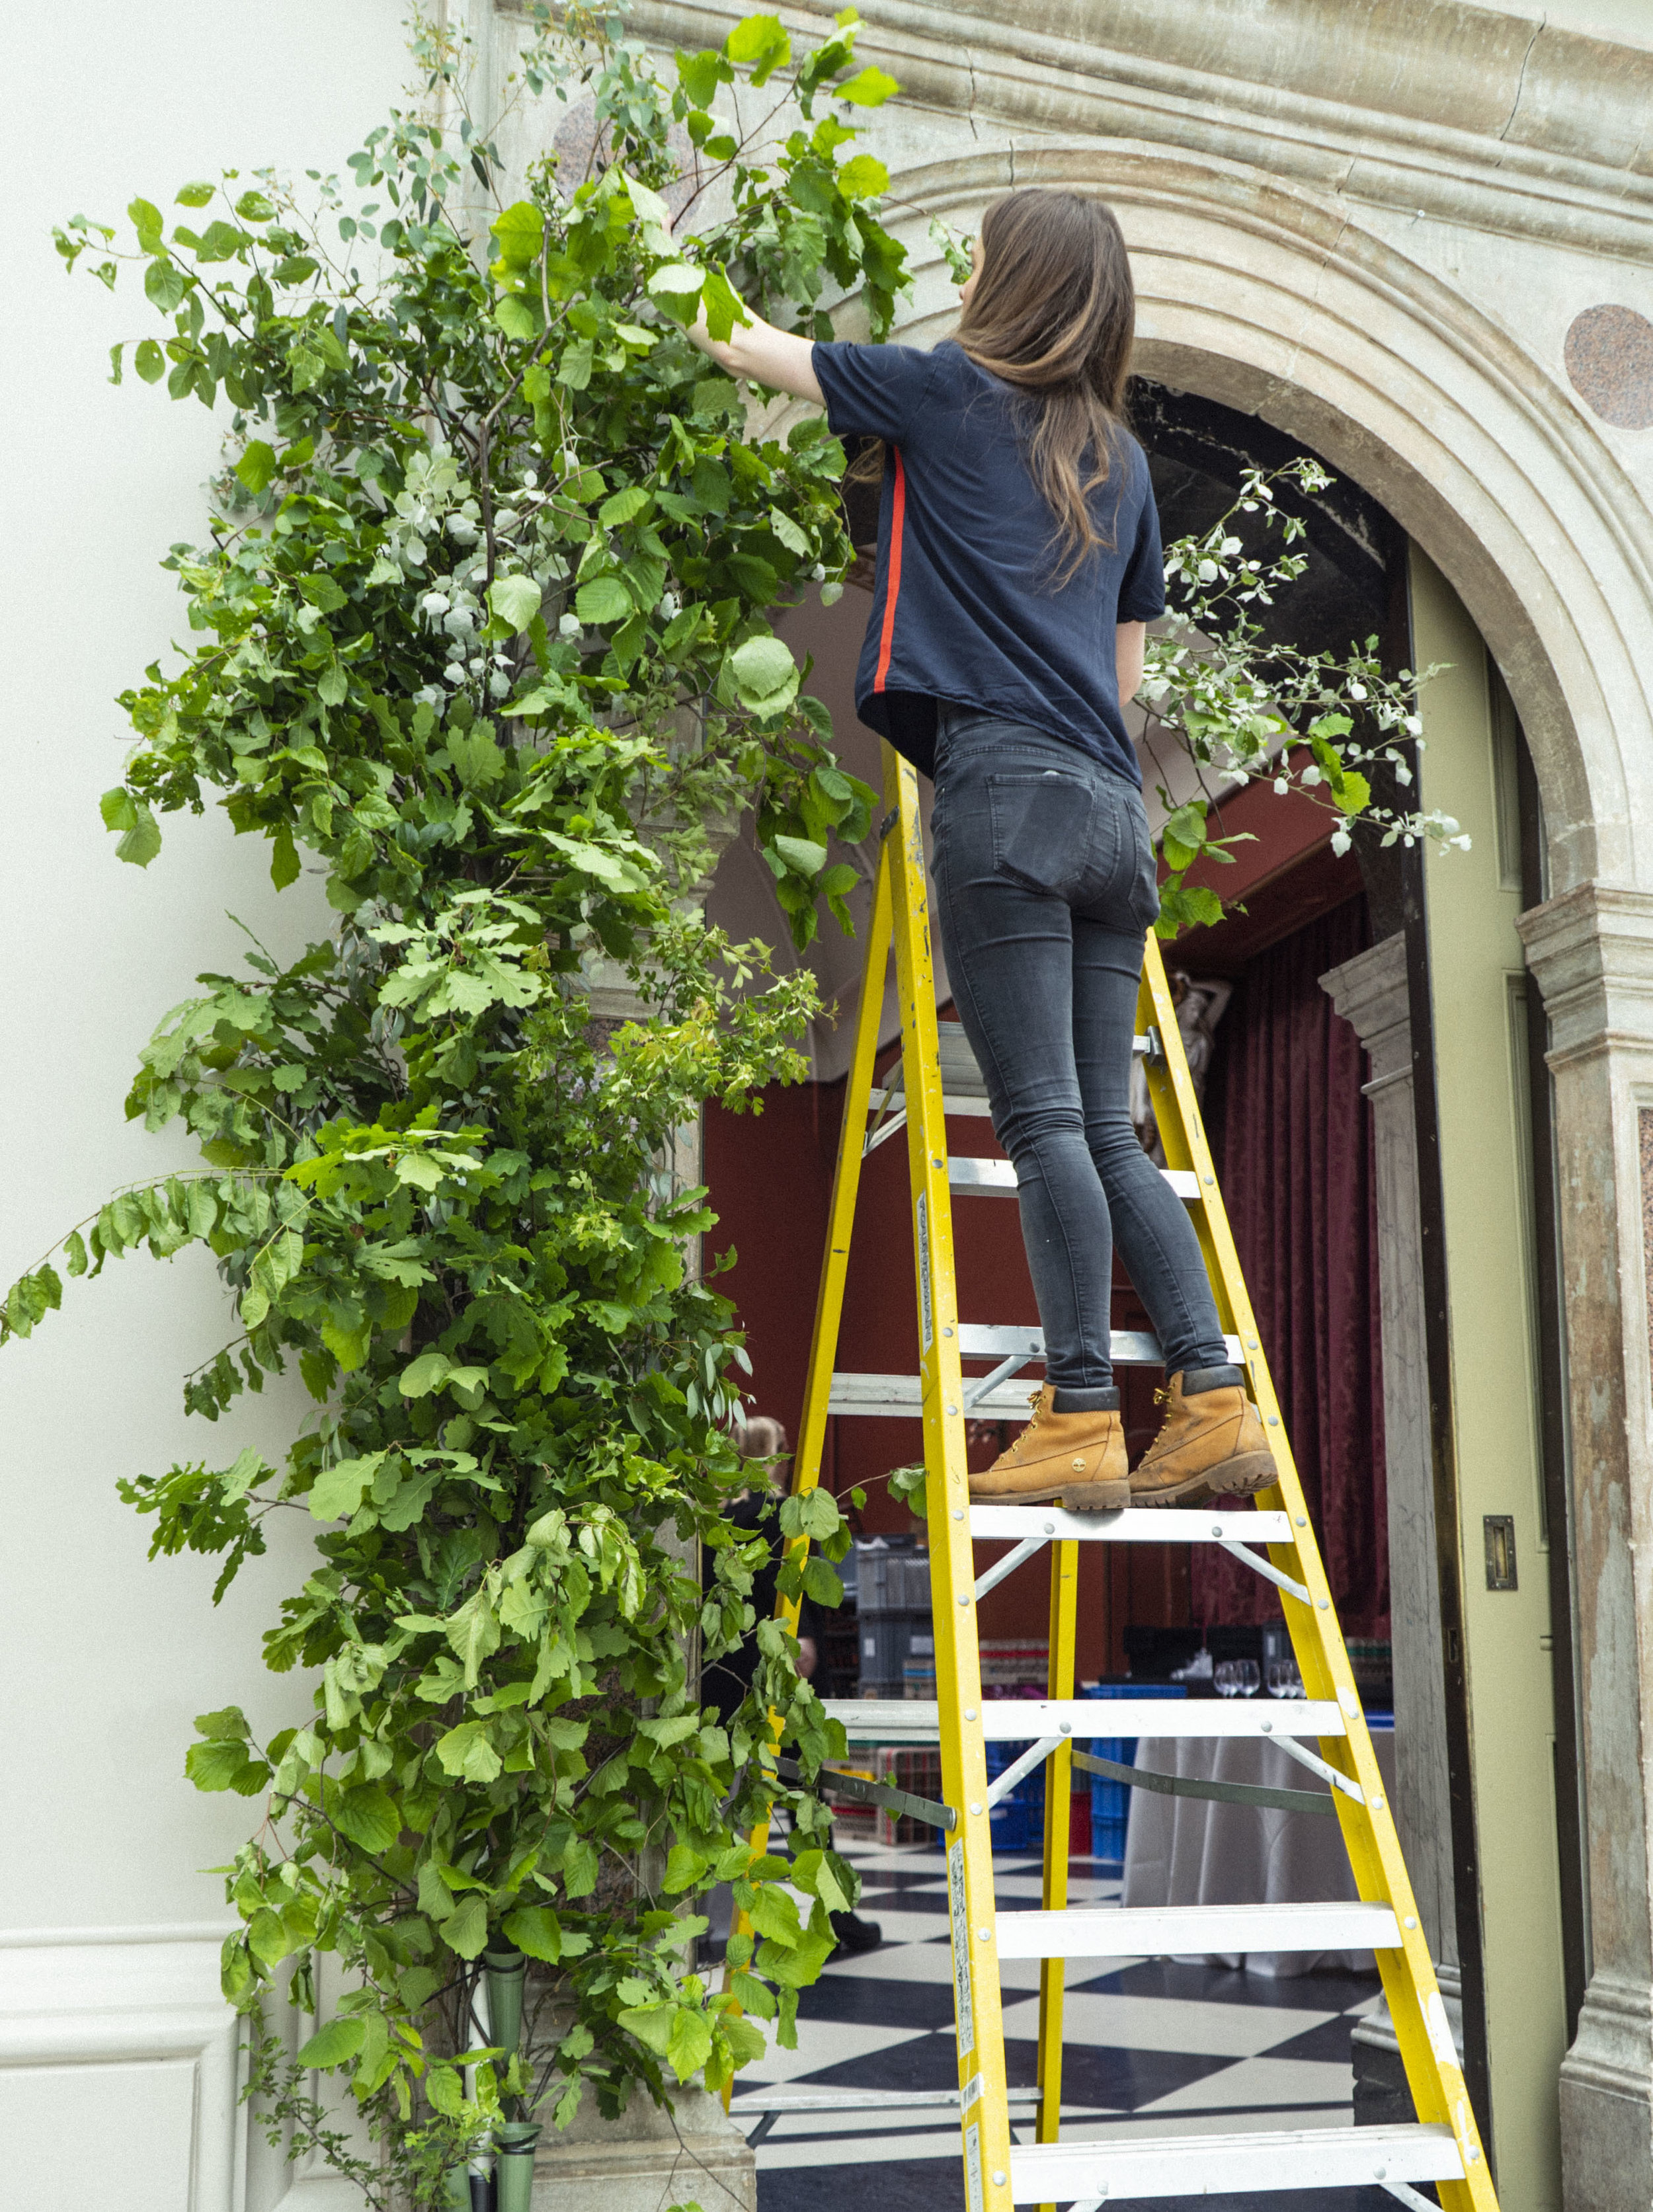
Add the main bulk of your greenery or whatever you’re using to create shape. That’s where the chicken wire comes in and hopefully you have it at different intervals up the arch (or maybe the whole way), and you can just slot bits in.

Six.
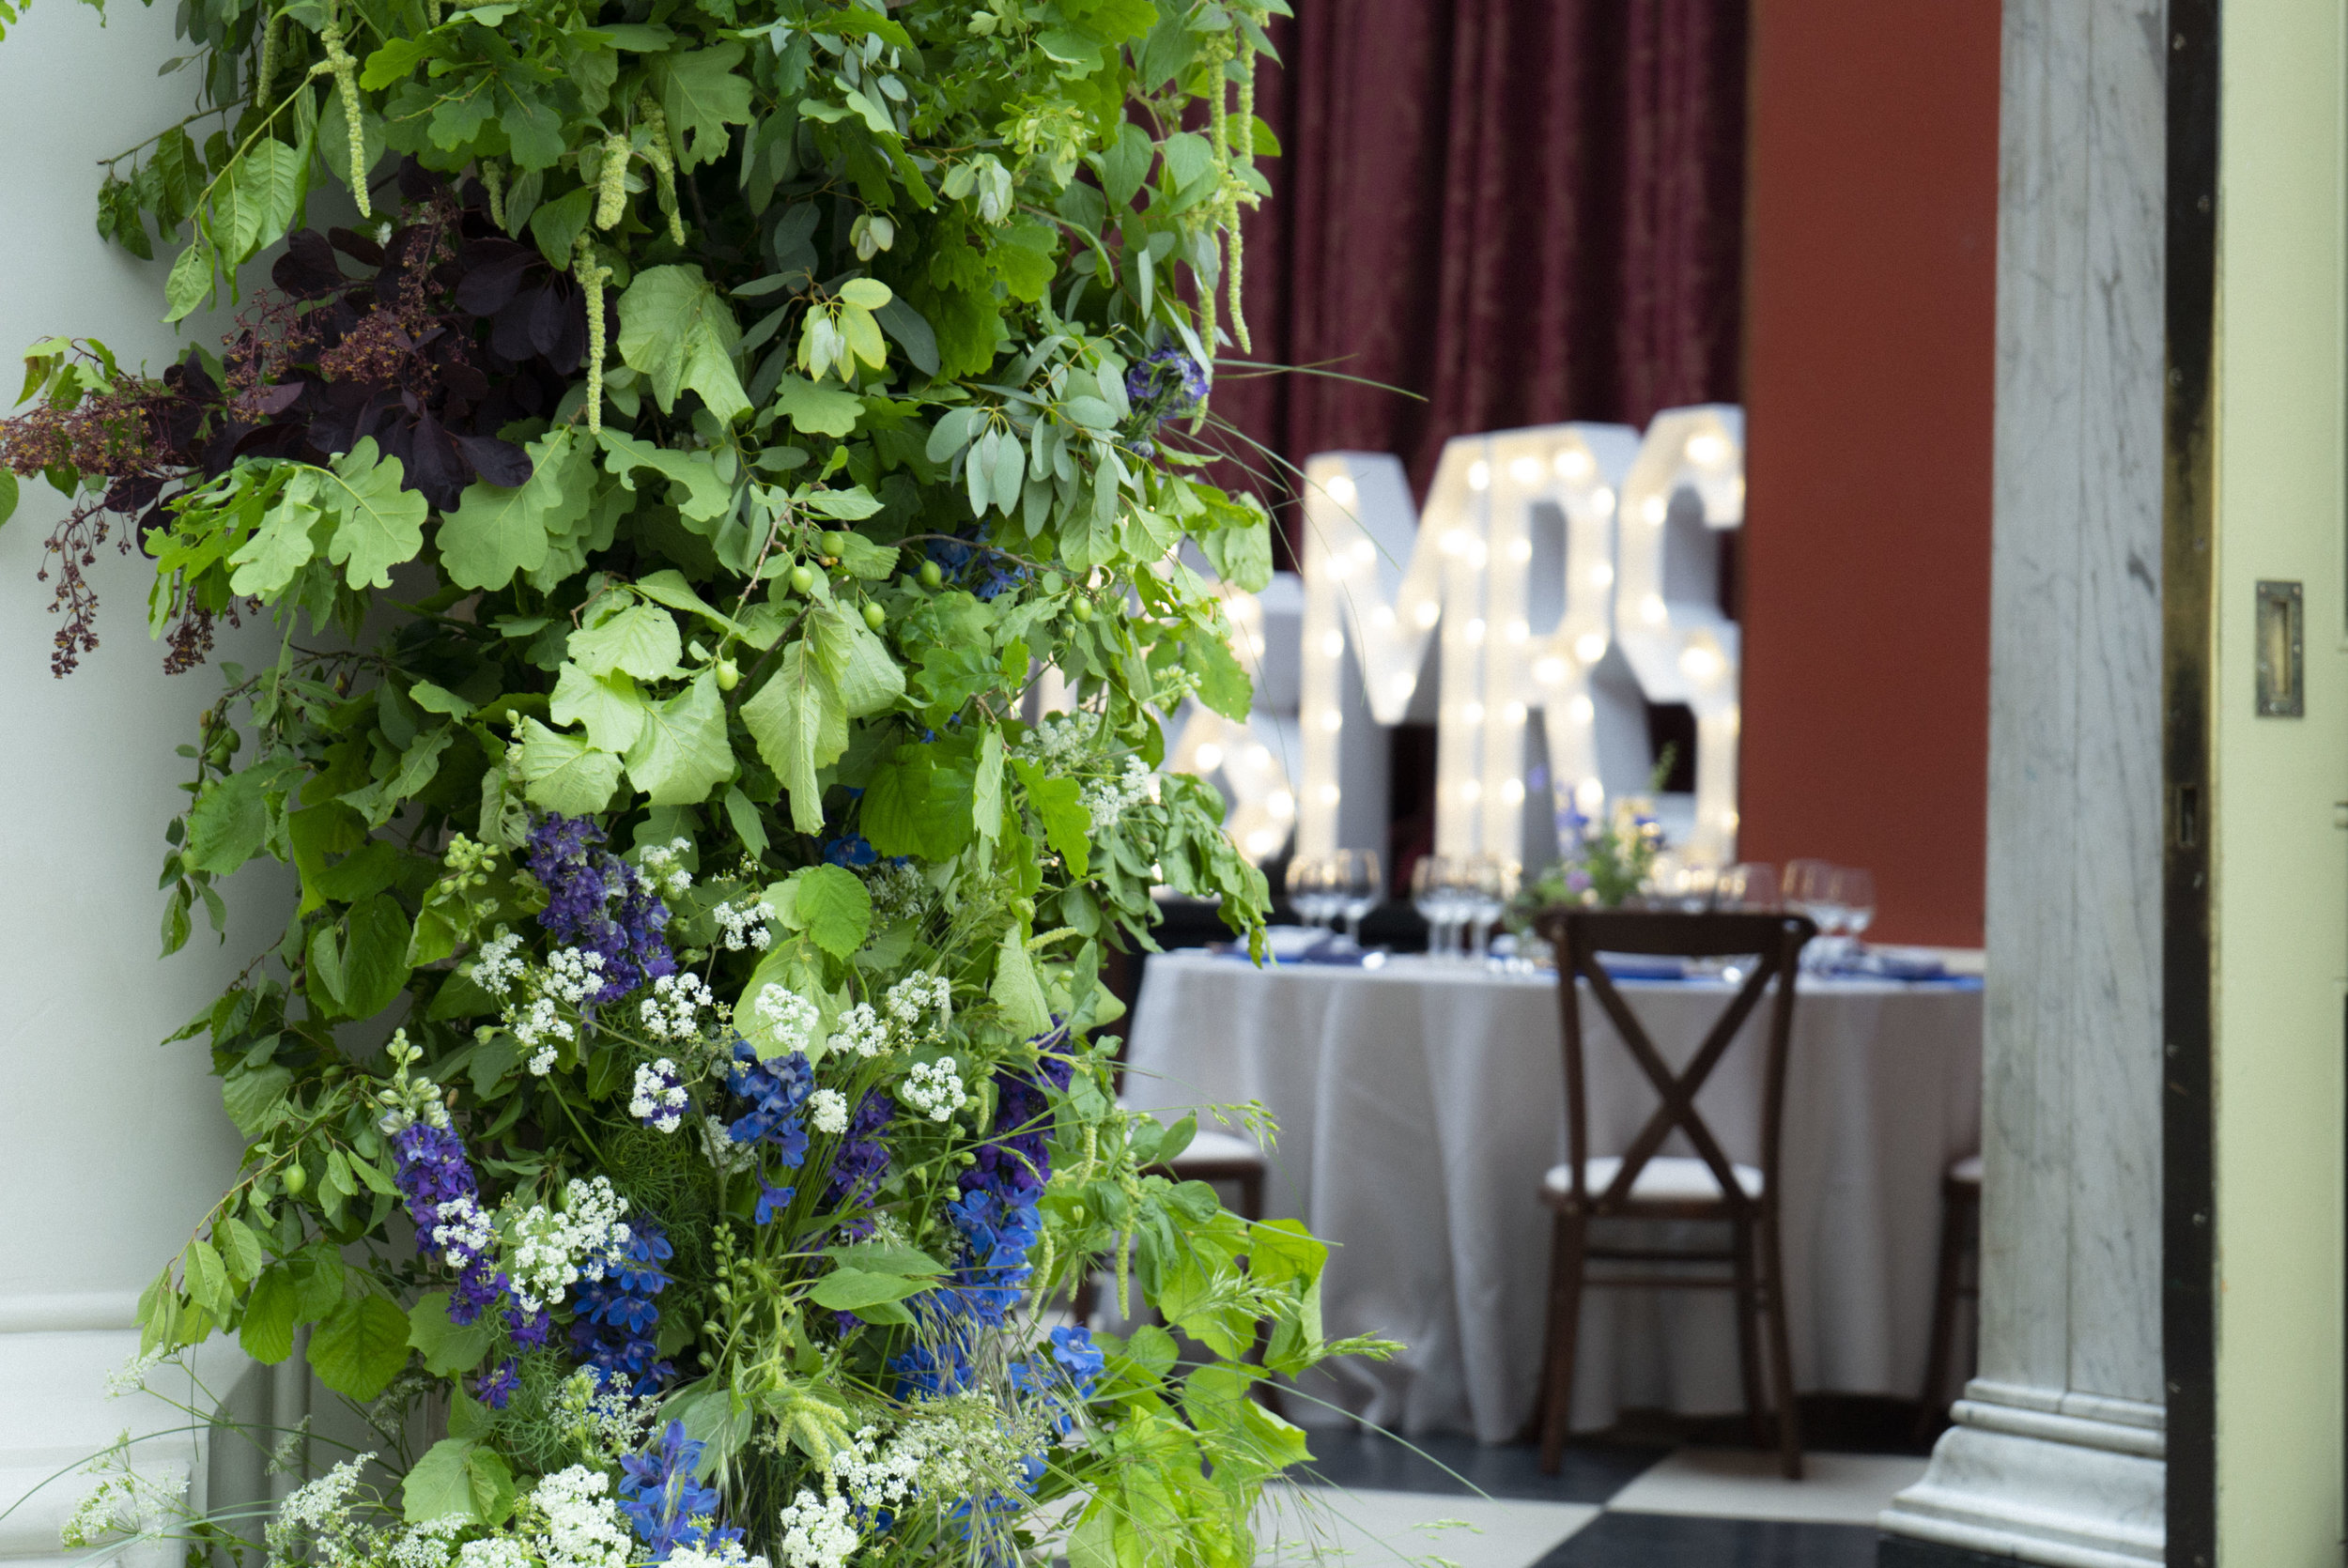
Fill in any gaps and add your details to create movement, adding your nicest foliage last and then flowers into the water vessels.
That’s pretty much it. Now all you have to do is take 67 pictures of essentially the same thing, then cross your fingers and go home. Once home, feel free to imagine all the ways it might have fallen down and ruined someone’s wedding.